Weave your first checker bag
Your first bag from the first knot to the finished rim — a full afternoon project with every step shown.
Beginner90 min6 steps
Step 1
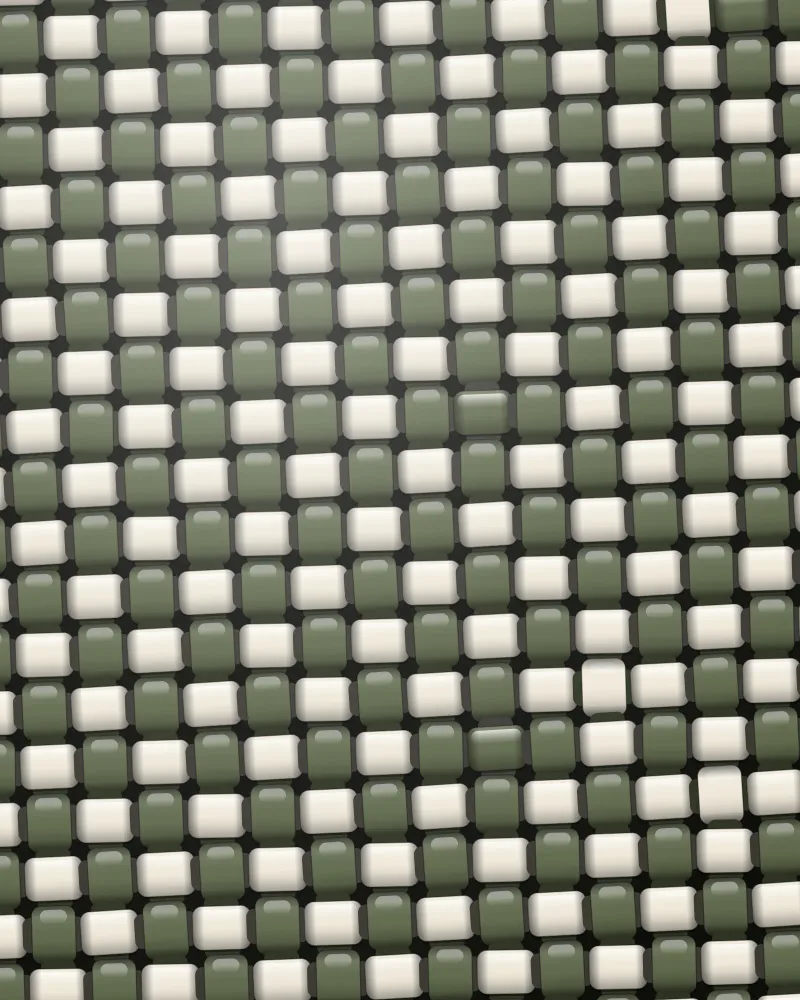
Lay the pattern chart flat and sort your strips into two piles by colour. Every square on the chart is one knot — you will read it from the bottom row upwards.
Step 2
Fold each strip in half lengthwise and crease it sharply with your thumbnail. A crisp fold keeps the knots square and makes every loop sit flat.
Step 3
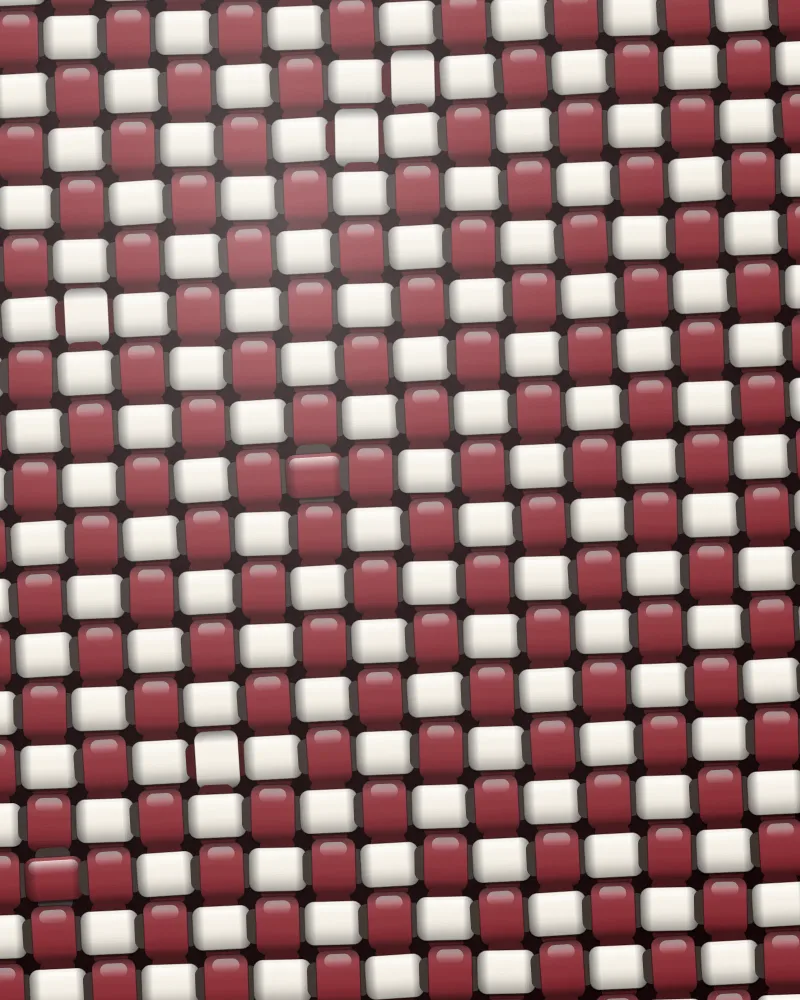
Fold the base row: following the bottom line of the chart, tie your first row of knots, alternating the two colours. Link the ends into a ring — this ring becomes the bottom of the bag.
Step 4
Now knot row over row: fold each new strip through the loops of the row below, one knot in each gap. Keep every fold pulled to the same tightness so the checker squares stay square.
Step 5
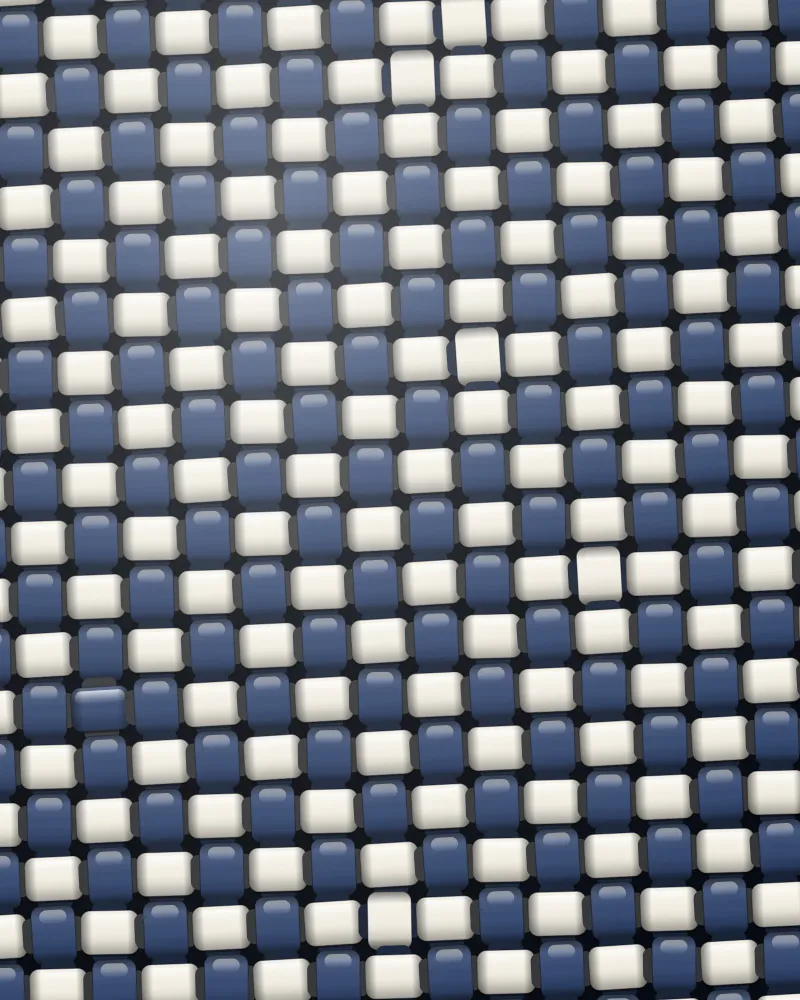
Shape the sides: from the fifth row up, pull the corner strips a touch tighter every third row. The flat panel will curve into a basket shape on its own — don't force it.
Step 6
Close the rim: at the top line of the chart, fold the strip ends over the final row of loops, pull snug and lock each with a flat knot. Trim the tails and tuck them inside the rim.
Want to weave it yourself? Every design is available as a DIY kit.
Shop DIY kits